Introduction
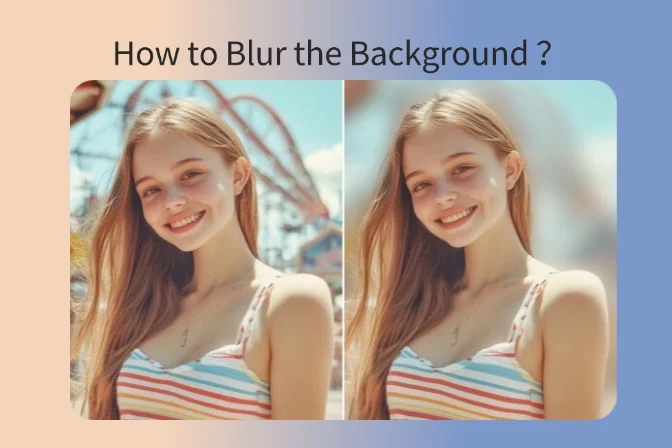
Controlling depth of field is one of the secrets to achieving professional-looking mobile edits. By selectively blurring backgrounds and keeping subjects sharp, you can create dramatic visual impact that draws attention exactly where you want it. In this tutorial, we’ll show you how to use PicsArt and PNG cutouts to create an outstanding background blur effect that makes your subjects pop.
Step 1: Creating Your PNG Sticker
- Open your photo in PicsArt
- Tap on the “Tools” menu and select “Cutout”
- Carefully trace around your subject using the various selection tools (automatic, brush, eraser)
- Zoom in to ensure clean edges around complex areas like hair
- Once satisfied with your selection, tap the checkmark to finalize
- Your subject will now be isolated on a transparent background
- Tap “Save” and choose “Sticker” to save your cutout to your personal sticker collection
Step 2: Preparing the Background
- Go back to your original, full image in PicsArt
- Tap on the “Effects” icon in the bottom menu
- Navigate to the “Blur” section in the effects panel
- Choose between “Lens Blur” for a realistic depth of field effect or “Gaussian Blur” for a uniform blur
- Apply the blur effect to the entire image
- Adjust the blur intensity using the slider until you achieve the desired effect
- For more control, you can use the selective blur tool to blur only specific areas
Step 3: The Final Composition
- With your background blurred, tap on the “Add” button
- Select “Sticker” and find your saved PNG cutout from Step 1
- Place your sharp subject on top of the blurred background
- Use the pinch gesture to resize your subject appropriately
- Position your subject where you want it in the frame
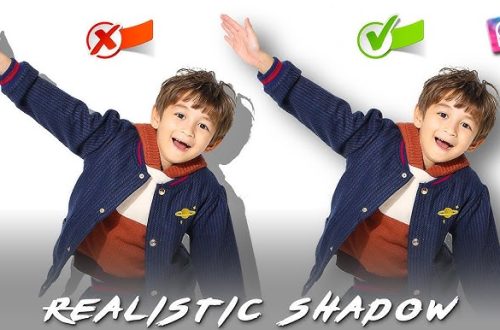
- To add realism, tap on your subject layer and select “Shadow”
- Adjust shadow opacity and blur to match the background blur
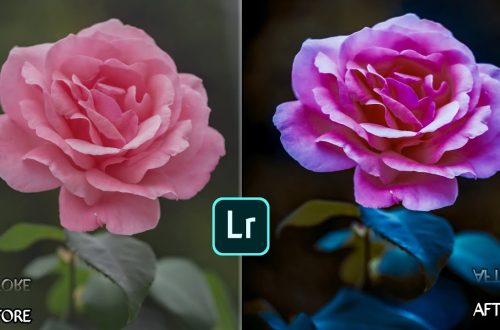
Pro-Tip: Color Grading with Lightroom Mobile
For a truly cohesive look, import your finished PicsArt edit into Lightroom Mobile:
- Save your PicsArt creation to your camera roll
- Open Lightroom Mobile and import the image
- Apply a preset that enhances both the sharp subject and blurred background
- Use the selective editing tools to brighten your subject if needed
- Adjust the clarity and dehaze sliders to enhance the depth effect
This two-app workflow gives you the best of both worlds: precise cutout and blur capabilities in PicsArt, and professional color grading in Lightroom.
Conclusion
The PNG blur trick is a powerful technique that can elevate your mobile photo editing from amateur to professional-looking. By combining PicsArt’s precise cutout tools with background blur effects, you can create images with a clear subject hierarchy that guides the viewer’s eye. This technique works especially well for portraits, product photography, and artistic compositions. Experiment with different blur intensities and subject placements to develop your own signature style. Try applying this technique to various subjects and backgrounds to see how it transforms your images.