Introduction
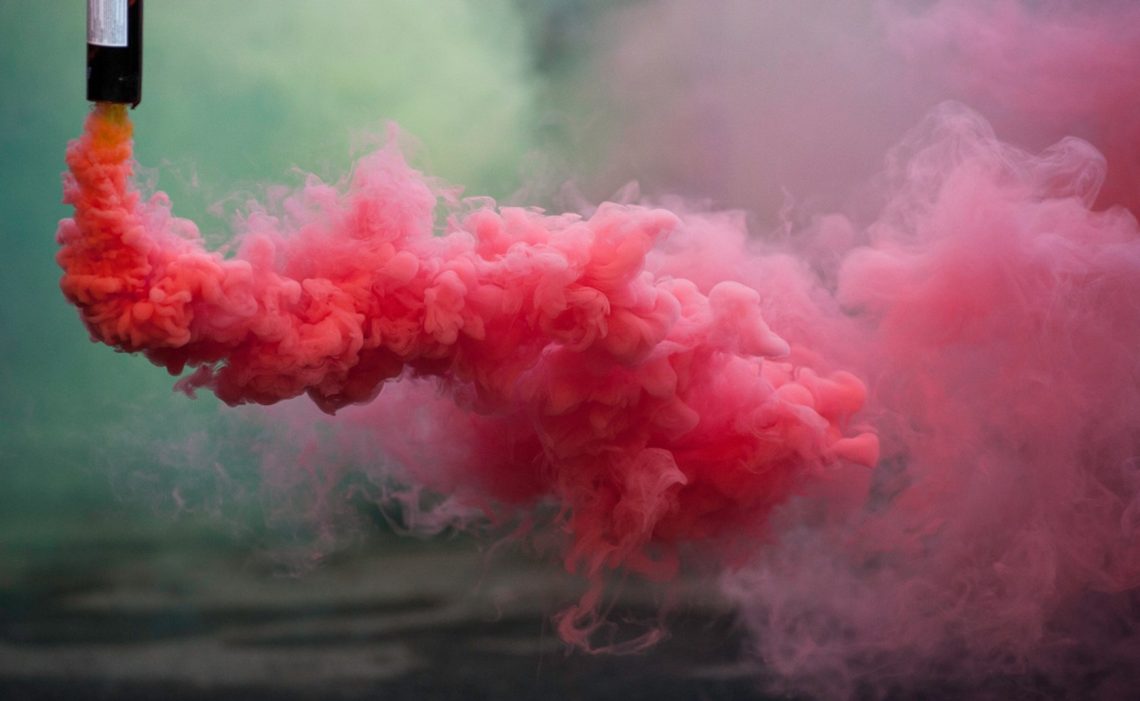
Smoke bomb photography has become incredibly popular for creating dramatic, artistic portraits with vibrant colors and dynamic movement. The visual impact of colored smoke swirling around a subject can transform an ordinary photo into a striking piece of art. In this tutorial, we’ll recreate the popular red smoke bomb effect digitally using PicsArt and Lightroom Mobile. This technique allows you to achieve the same stunning results without the mess, expense, or safety concerns of actual smoke bombs.
Step 1: Get the Right Images
To create a convincing smoke bomb effect, you’ll need to start with the right assets:
- Portrait: Choose a dynamic pose with some movement to create visual interest. Profile shots, jumping poses, or poses with flowing hair work especially well.
- Smoke PNGs: Find high-quality PNG images of red smoke with transparent backgrounds. Look for smoke images with varied densities and flow patterns to create depth in your composition.
- Multiple Angles: Having smoke PNGs from different angles will help you create a more realistic three-dimensional effect.
Good sources for smoke PNGs include:
- Premium subscription sites like Envato Elements or Creative Market
- Free resource sites like FreePNGs.com or StickPNG
- Photography resource sites that offer free smoke overlays
Step 2: Layering the Smoke in PicsArt
- Start with your base portrait in PicsArt
- Use “Add Photo” to import your smoke PNGs one at a time
- Position layers of smoke both in front of and behind your subject to create depth:
- Place some smoke layers below your subject layer for smoke that appears behind them
- Place some smoke layers above your subject layer for smoke that appears in front of them
- Use the “Erase” tool with a soft brush to wrap the smoke around limbs and body parts, making it look like the smoke is interacting with the subject
- Use the “Transform” tool to warp the smoke for a more natural flow:
- Scale different smoke layers to various sizes
- Rotate smoke elements to create varied flow directions
- Use the skew and distort functions to match the movement in your portrait
- Adjust the opacity of each smoke layer to create a natural-looking blend (usually between 40-80% depending on the layer)
- Apply different blend modes to enhance the smoke effect:
- Screen: Lightens the image and works well for making smoke appear more ethereal
- Add: Intensifies colors and can make red smoke appear more vibrant
- Overlay: Increases contrast and can make smoke appear more integrated with the subject
Step 3: Creating the Glow
- Use the “Draw” tool on a new layer above your smoke layers
- Select a soft, red airbrush with low opacity (around 20-30%)
- Paint a glow onto your subject where the smoke is brightest, typically around the edges and hair
- Use a larger brush size to create a subtle overall glow effect
- Set the layer blend mode to “Add” or “Screen” to create a luminous effect
- Lower the opacity of the glow layer to between 30-50% to keep it subtle but noticeable
- Use the smudge tool lightly to blend the glow into the smoke layers for a seamless transition
Step 4: Final Color Grade in Lightroom
Export your PicsArt creation to your camera roll and open it in Lightroom Mobile for final adjustments:
- Enhance the reds in the color mixer to make the smoke pop more dramatically
- Adjust the orange and yellow sliders to complement the red smoke and enhance skin tones
- Darken the shadows and blacks slightly to increase contrast and make the red smoke stand out
- Increase clarity to add depth and definition to both the subject and smoke elements
- Apply a subtle vignette to draw attention to the center of the image
- Add a small amount of grain to give the image a filmic quality
- Fine-tune the tone curve to create a slight S-curve for enhanced contrast
Conclusion
The red smoke bomb effect is a dramatic way to add visual impact to your portraits and create shareable artistic content. By using PicsArt’s layering capabilities and Lightroom’s professional color grading tools, you can achieve results that rival actual smoke bomb photography without the logistical challenges. The key to success lies in using multiple smoke layers at different depths and opacities to create a sense of three-dimensional space. The glow effect adds an extra layer of realism by showing how the colored smoke would affect the lighting on your subject. This technique can be easily adapted to different smoke colors for different moods – blue for a cooler, more serene feel, or purple for a more mystical appearance. Experiment with different portrait poses and smoke arrangements to develop your own signature style. You can also combine this technique with other effects like double exposures or light leaks for even more creative possibilities. Remember to maintain a balance between the smoke effects and your subject – the smoke should enhance rather than overwhelm the main focus of your image.


